How To String Outdoor Lights Over a Patio
Stringing outdoor lights over a patio can transform the space, adding warmth, ambiance, and functionality for evening gatherings. The process requires careful planning, selection of appropriate materials, and a methodical approach to installation. This article provides a comprehensive guide on how to effectively and safely string outdoor lights over a patio area.
Planning and Preparation
Before commencing the physical installation, a thorough planning phase is crucial. This stage involves assessing the patio space, determining the desired lighting effect, and selecting the appropriate type of lights and support structures.
The first step is to evaluate the patio’s size and layout. Consider the areas where light is most needed, such as dining areas, seating arrangements, or walkways. Measure the distances between potential support points. This will dictate the necessary length of the light strings and the type of support system required.
Next, determine the desired aesthetic. Different types of lights create varying effects. Globe lights offer a classic, warm glow, while LED string lights provide energy efficiency and customizable color options. Fairy lights create a whimsical atmosphere, while cafe lights evoke a bistro ambiance. Consider the existing décor and the overall desired mood when selecting the type of lights.
Choosing the right type of outdoor lights is also essential. Ensure the lights are specifically designed for outdoor use. Look for lights with a high Ingress Protection (IP) rating, indicating resistance to water and dust. Lights labeled with IP44 or higher are generally suitable for patio applications. Additionally, consider the power source. Options include plug-in lights, solar-powered lights, and battery-operated lights. Plug-in lights offer consistent brightness but require access to an outdoor power outlet. Solar-powered lights are energy-efficient but may have variable brightness depending on sunlight availability. Battery-operated lights are portable but require regular battery replacement.
Finally, identify the necessary support structures. Depending on the patio’s existing features, support structures could include trees, posts, walls, or dedicated light poles. If existing structures are not available or suitable, consider installing posts specifically for supporting the lights. These posts should be sturdy and securely anchored to the ground.
Selecting Materials and Tools
Once the planning stage is complete, gather the necessary materials and tools. This includes the chosen string lights, support structures (if needed), and various hardware and tools for installation.
The primary material is, of course, the string lights themselves. Purchase high-quality lights from a reputable manufacturer to ensure durability and weather resistance. Check the total length of the string lights and compare it to the measurements taken during the planning phase. It’s better to have slightly more length than needed, as excess can be easily managed. Ensure that the chosen lights are compatible with the available power source (e.g., 120V for standard outlets or low-voltage for transformer-powered systems).
If installing posts, consider materials such as treated wood, metal, or composite materials. The height of the posts should be sufficient to provide adequate clearance beneath the lights. Concrete is typically used to anchor the posts securely into the ground. Ensure the concrete is properly mixed and allowed to cure fully before attaching the lights.
Hardware essential for installation includes guide wires, hooks, eye bolts, zip ties, and clamps. Guide wires provide additional support for the light strings, preventing sagging and ensuring a more uniform appearance. Stainless steel or galvanized steel wire is recommended for outdoor use due to its corrosion resistance. Hooks and eye bolts are used to attach the guide wires to the support structures. Zip ties and clamps are used to secure the light strings to the guide wires. Choose UV-resistant zip ties to prevent them from becoming brittle and breaking in sunlight. Consider using carabiners for easy attachment and detachment of the light strings, which can be useful for seasonal storage or maintenance.
Tools required for installation include a measuring tape, a level, a drill, a screwdriver, pliers, wire cutters, and safety glasses. A ladder may also be needed to reach higher support points. For installing posts, additional tools such as a post hole digger, a shovel, and a concrete mixer may be necessary.
Installation Process
With careful planning and the right materials, the installation process can be straightforward. This section outlines the steps involved in stringing outdoor lights over a patio, ensuring a safe and aesthetically pleasing outcome.
Begin by installing the support structures, if required. Dig post holes deep enough to provide stability, typically one-third of the post’s height below ground. Set the posts in the holes, ensuring they are plumb using a level. Pour concrete around the base of the posts and allow it to cure completely, following the manufacturer's instructions.
Next, install the guide wires. Attach eye bolts to the support structures at the desired height for the lights. Thread the guide wire through the eye bolts and pull it taut. Secure the wire using wire clamps or by creating a loop and crimping it with pliers. Ensure the guide wire is level and securely fastened to prevent sagging. Consider using a turnbuckle to adjust the tension of the guide wire, allowing for minor adjustments and preventing the wire from becoming too slack over time.
Once the guide wires are in place, begin attaching the string lights. Start at one end of the patio and work your way across, securing the lights to the guide wire using zip ties or clips. Space the zip ties or clips evenly along the light string to prevent sagging and maintain a uniform appearance. Be careful not to overtighten the zip ties, as this could damage the light string. Ensure the lights are hanging at the desired height and angle. As you are securing the lights to the guide wires, consider the weight distribution and adjust as needed to prevent uneven tension on the support structures.
After the lights are strung along the guide wires, connect them to the power source. If using plug-in lights, ensure the outlet is weatherproof and properly grounded. Use a heavy-duty outdoor extension cord if needed. If using solar-powered lights, position the solar panel in a location where it will receive ample sunlight. If using battery-operated lights, insert fresh batteries and test the lights to ensure they are working properly. Consider using a timer to automatically turn the lights on and off, saving energy and extending the lifespan of the bulbs.
Finally, conduct a thorough inspection of the installation. Ensure all connections are secure and that the lights are functioning correctly. Check for any potential hazards, such as loose wires or exposed electrical components. Make any necessary adjustments to ensure the lights are hanging properly and that the overall appearance is satisfactory. Once the inspection is complete, step back and enjoy the transformed patio space.
Safety Considerations
Safety is paramount when installing outdoor lights. This section emphasizes crucial safety precautions to prevent accidents and ensure a secure installation.
Always disconnect the power supply before working with electrical components. This includes unplugging the lights from the outlet or turning off the circuit breaker. Never work with electrical components in wet conditions, such as during rain or when the ground is damp. Even low-voltage systems can pose a risk of electric shock if handled improperly.
Use appropriate safety equipment, such as safety glasses and gloves. Safety glasses protect the eyes from debris, while gloves protect the hands from cuts and abrasions. Wear appropriate footwear with non-slip soles to prevent falls while working on ladders or uneven surfaces. Consider using a hard hat if working in an area where there is a risk of falling objects.
When working on a ladder, ensure it is placed on a stable and level surface. Follow the manufacturer's instructions for proper ladder usage. Never overreach or lean too far while on a ladder. Have someone spot you while you are on the ladder to provide additional stability and assistance. Inspect the ladder for any signs of damage before each use and replace any damaged or worn parts.
Be mindful of overhead power lines. Maintain a safe distance from power lines to avoid electrocution. If you are unsure of the location of power lines, contact your local utility company for assistance. Never use metal ladders near power lines, as they can conduct electricity. Use fiberglass or wooden ladders instead.
Regularly inspect the lights and wiring for damage. Look for frayed wires, cracked sockets, or other signs of wear and tear. Replace any damaged components immediately. Ensure that all connections are secure and that the lights are properly grounded. If you are not comfortable working with electrical components, consult a qualified electrician.

How To Hang Patio Lights

28 Backyard Lighting Ideas How To Hang Outdoor String Lights

Diy Patio Arbor Using String Lights The Honeycomb Home

How To Hang String Lights Outdoors

How To Hang Outdoor String Lights The Ultimate Guide Jessica Welling Interiors

Diy Outdoor Patio String Lights Landscape Lighting Guru

How To Hang Patio Lights
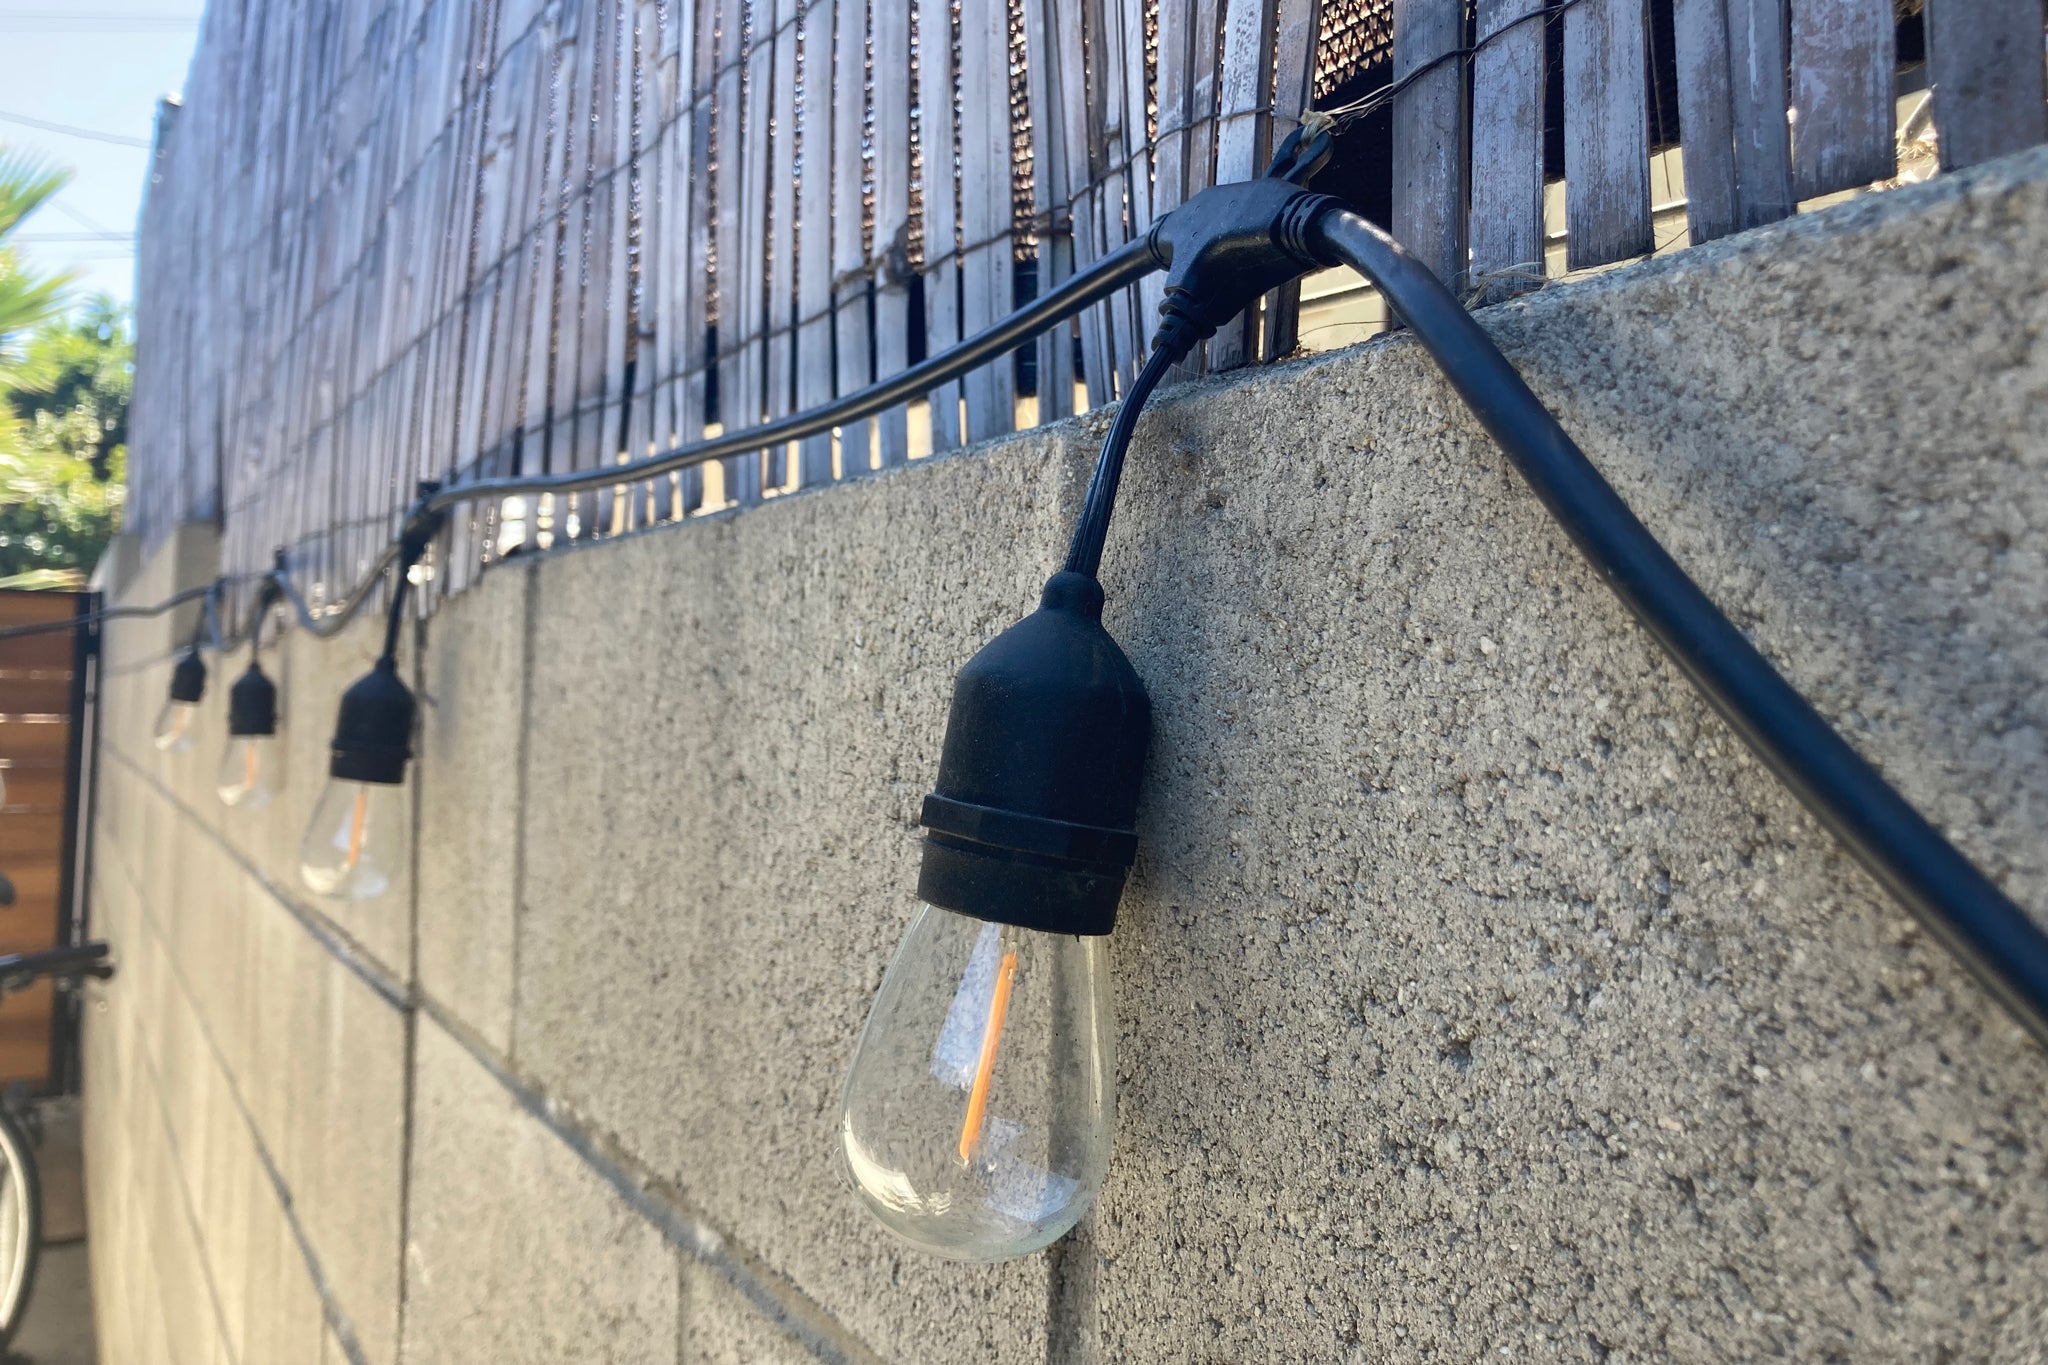
How To Hang Outdoor String Lights And Make Them Look Good Wirecutter

How To Hang Patio Lights

Pin On Outdoor Lighting
Related Posts
